Paver Sealing and Maintenance: What Idaho Homeowners Need to Know
Most paver maintenance advice you’ll find online is either too aggressive or not nearly specific enough for Idaho’s climate. Here’s what Treasure Valley homeowners actually need to do to keep a paver installation looking and performing its best — and what they can safely skip.
A properly installed paver system is one of the lowest-maintenance outdoor surfaces you can own. But “low maintenance” doesn’t mean “no maintenance.” There’s a short list of things that genuinely protect your investment — and a longer list of upsells and unnecessary treatments that sound convincing but don’t move the needle. After 20 years of installations and follow-up visits across Boise, Meridian, Eagle, Nampa, and the wider Treasure Valley, our team at Nostalgic Paver Systems has a clear picture of what actually matters.
This guide covers what you should do, what you don’t need to worry about, and when sealing is worth it versus when you’re just spending money.
What Maintenance Do Pavers Actually Require?
The good news is that a well-installed paver system — with proper base preparation, drainage, and polymeric sand — requires very little regular intervention. Here’s what genuinely matters:
Annual Cleaning
Once a year, typically in spring after the last freeze, a basic rinse of your paver surface goes a long way. For most residential patios and driveways, a garden hose with moderate pressure is sufficient to remove winter grit, organic debris, and surface dirt. If organic staining (algae, mold) has developed — common on north-facing or heavily shaded surfaces — a paver-safe cleaner applied with a stiff brush will address it.
Avoid high-pressure power washing at close range. Sustained high pressure at incorrect angles can displace joint sand, damage paver surfaces, and, if the installation is older, loosen edge restraints. A wide-fan nozzle at a reasonable distance is fine; a pinpoint jet at full pressure is not.
Joint Sand Top-Up (As Needed)
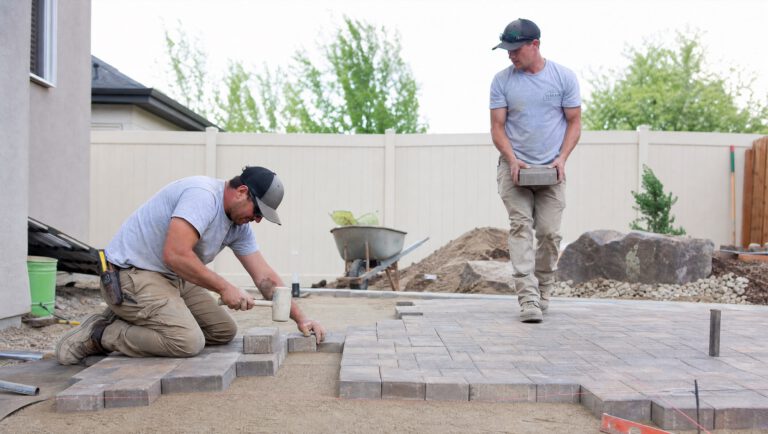
Polymeric sand — the material used to fill the joints between pavers in a quality installation — is designed to harden and resist erosion. But over time, particularly in areas exposed to heavy water flow or significant foot traffic, it can erode. When you start to see voids in the joints deeper than about a quarter inch, or when ant colonies are taking up residence, it’s time to top up the sand.
This is a DIY-manageable task. New polymeric sand is swept into the joints, compacted lightly, and activated with water. The key is using the right product for your joint width and activating it properly — incomplete activation is the most common reason for polymeric sand failures.
Weed Management
In a properly installed system with correct polymeric sand, weed pressure should be minimal. What growth you do see tends to come from seeds blowing in and germinating in surface debris — not from weeds pushing up through the joints. A hand-pull or targeted spot treatment typically handles it.
If you’re seeing significant weed growth throughout the joint system, the joint sand was either the wrong type or wasn’t properly applied. That’s worth addressing at the source rather than managing symptoms with herbicide indefinitely.
Should You Seal Your Pavers?
This is the most common question homeowners ask about paver maintenance, and it’s also the one with the most conflicting answers. The honest answer: sealing is optional for most applications, beneficial in specific situations, and somewhat oversold by the industry.
Here’s when sealing genuinely makes sense:
Driveways and high-traffic areas. A penetrating sealer can add a layer of stain resistance on surfaces that see regular vehicle traffic, oil drips, or heavy use. It won’t prevent staining entirely, but it gives you a larger window to clean spills before they penetrate.
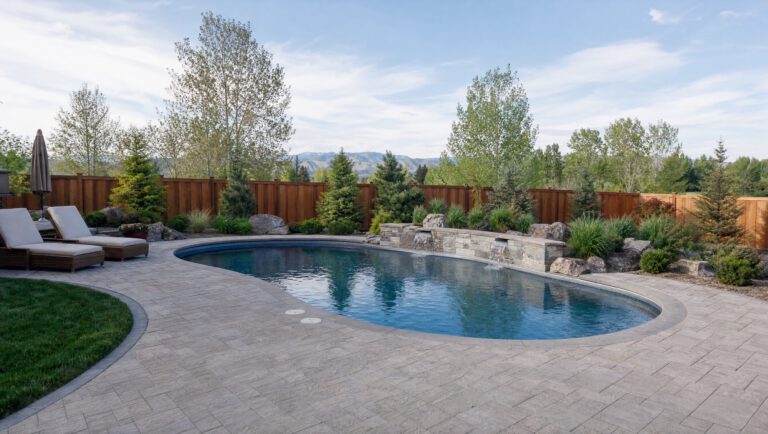
Pool surrounds. Sealed pavers around pools are easier to keep clean and more resistant to the chemical exposure from chlorinated water. The slip resistance of the sealer product matters here — make sure any sealer used in a pool area has an appropriate anti-slip rating.
When enhanced color is desired. Some sealers are formulated to bring out the depth and saturation of paver color — the “wet look” effect. If color richness is important to you, a gloss or semi-gloss sealer achieves it. Note that this is an aesthetic choice, not a structural or protective one.
When sealing is NOT necessary:
For most residential patios, walkways, and standard-use hardscape, unsealed pavers perform beautifully for decades. Concrete pavers are designed to weather naturally and many homeowners prefer the unenhanced appearance. If your installation has proper joint sand and drainage, sealing adds cost and periodic reapplication without meaningfully extending the life of the system.
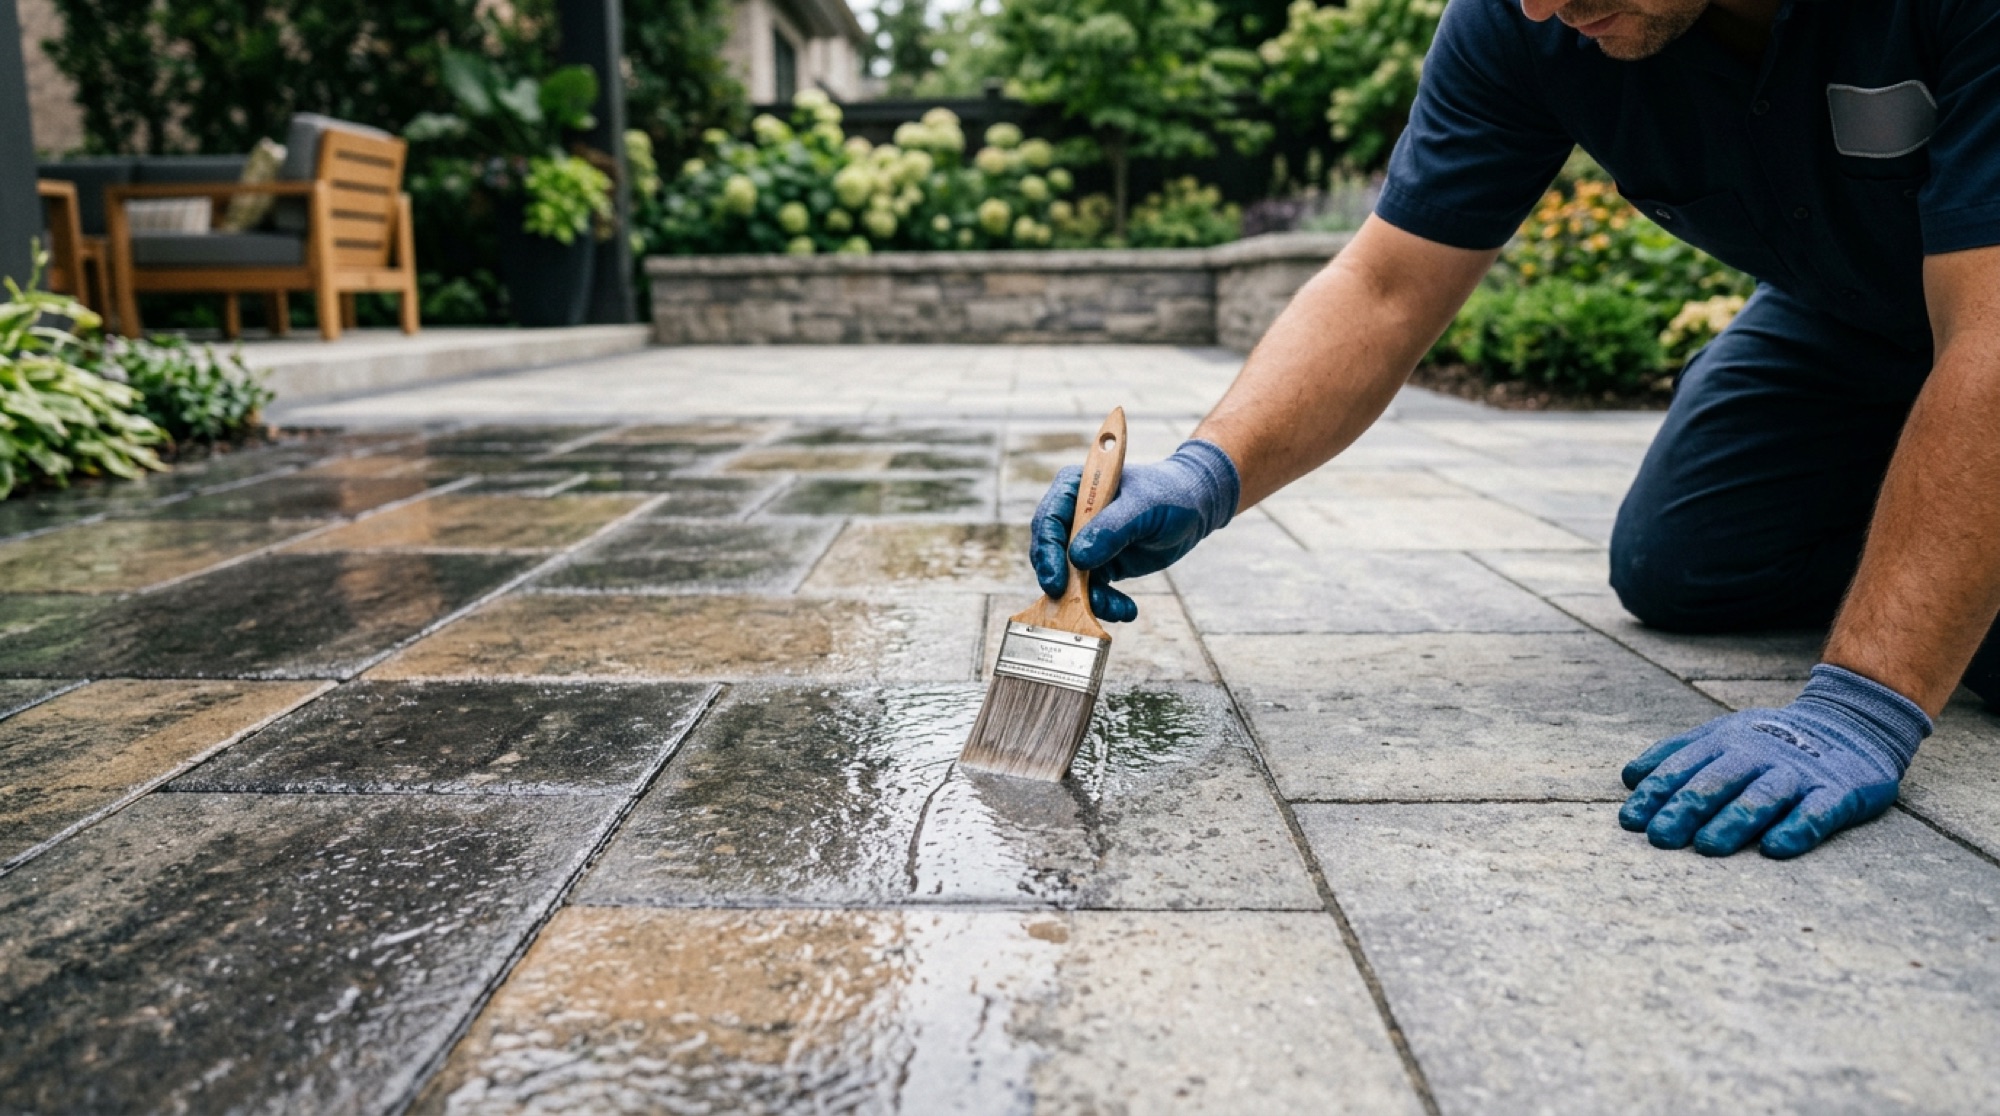
How Often Should Pavers Be Sealed?
If you choose to seal, plan on reapplication every 3 to 5 years, depending on exposure and the product used. The sealer will visually show wear before it fails structurally — a loss of sheen on gloss products or a duller appearance on matte ones.
One important note: some sealers can trap moisture beneath them if applied over pavers that aren’t fully dry and clean, creating a hazy or white appearance that’s difficult to reverse. Always ensure the surface is bone dry and clean before applying, and choose products specifically formulated for concrete pavers, not general masonry sealers.
What About Efflorescence? (The White Haze)
Efflorescence is the white, chalky residue that sometimes appears on paver surfaces, particularly in the first year or two after installation. It’s caused by soluble salts migrating to the surface as moisture moves through the concrete — a natural byproduct of the curing process.
It is not a defect and it is not a sign of a damaged installation. It typically resolves on its own after a season or two of weathering. Efflorescence cleaners are available and can speed the process, but they aren’t required. It should not be sealed over — that traps it.
What About Repairs?
One of the great practical advantages of a paver system over poured concrete is repairability. Individual pavers can be removed and reset without disturbing the surrounding area. A settled section, a damaged paver, or a localized drainage problem can be addressed precisely and economically.
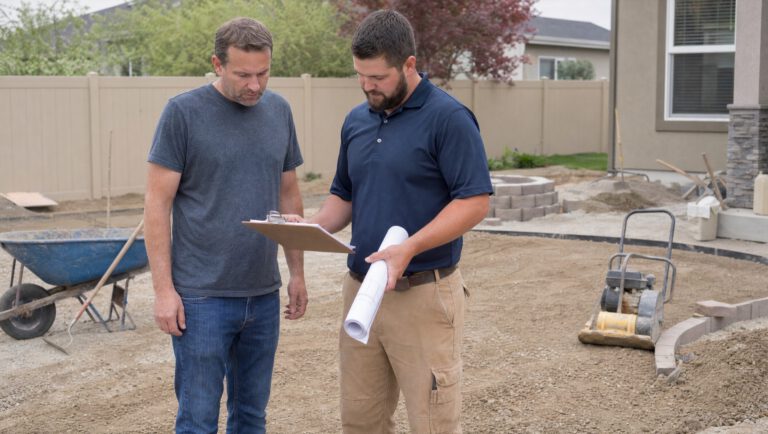
If you notice sections of your patio or driveway starting to shift, settle, or show uneven joint widths, address it sooner rather than later. Small settling issues are inexpensive to correct when they’re small; left unaddressed, settlement tends to spread as water finds its way into the affected base area.
Ready to Get It Done Right?
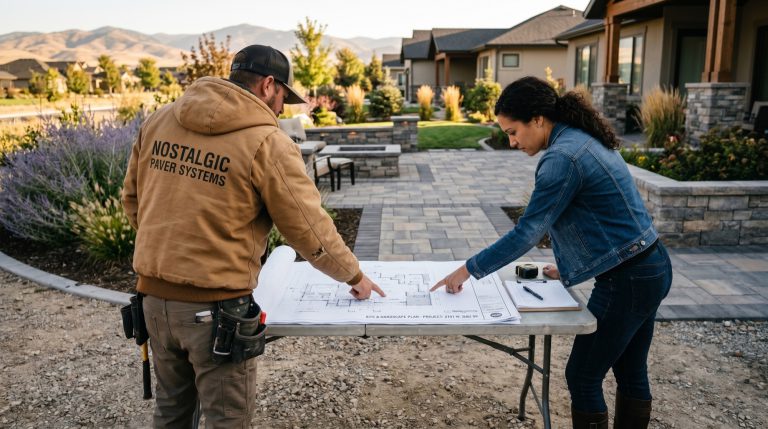
Nostalgic Paver Systems has been installing hardscape across Boise and the Treasure Valley for over 20 years. Every project we build is backed by a workmanship warranty and our unconditional commitment to standing behind the work — long after the crew has left.
If you have questions about maintaining an existing installation, are seeing signs of settlement or joint failure, or are planning a new project and want to understand what a properly built system actually looks like, we’d love to talk.
→ Book a Project Discovery Call today.
Frequently Asked Questions
How do I clean pavers without damaging them? For routine cleaning, a garden hose with moderate pressure and a mild, paver-safe cleaner is all most surfaces need. For organic staining (algae, mold), a dedicated paver cleaner applied with a stiff-bristle brush works well. Avoid sustained high-pressure washing at close range — it can displace joint sand and, over time, damage the paver surface. Never use muriatic acid on colored pavers.
How often should I resand my paver joints? There’s no set schedule — assess visually. When joint depth exceeds about a quarter inch, joints are showing voids, or you’re seeing more ant activity than usual, it’s time to top up. For most quality installations with polymeric sand, this might be every 3 to 7 years depending on traffic and water exposure.
Is sealing pavers worth the cost? In most cases, sealing is an optional upgrade rather than a maintenance necessity. It adds meaningful value on driveways (stain resistance), pool decks (chemical resistance, cleanability), and anywhere enhanced color is desired. For standard residential patios and walkways, unsealed pavers perform reliably for decades without it. If a contractor is telling you that you must seal to maintain your warranty, verify that claim carefully.
Why do my pavers have a white haze on them? This is efflorescence — a natural process where salts migrate to the surface as moisture moves through the concrete during and after curing. It’s especially common in the first 1 to 2 years after installation and typically resolves on its own through weathering. It is not a defect. Efflorescence cleaners can remove it faster if it bothers you, but sealing over it will trap it.
Can I repair just a section of my paver patio? Yes — this is one of the key advantages of a paver system over poured concrete. Individual pavers can be removed, the base corrected, and the pavers reset without affecting the rest of the installation. The surface color may not match perfectly if the original pavers have weathered, but the structural integrity of the repair will be solid.
What causes weeds in paver joints and how do I stop them? Weed growth in a well-installed system comes from seeds germinating in surface debris, not from roots pushing through from below. Keeping the surface reasonably clear of organic material reduces the seed bed. If you have significant joint weed growth, it often means the joint sand was not polymeric (or wasn’t applied correctly) — the right long-term fix is properly resanding the joints, not ongoing herbicide use.
Nostalgic Paver Systems · Boise, Idaho · Serving the Greater Treasure Valley · nostalgicpavers.com
Nostalgic Paver Systems
Planning a project of your own?
Let’s talk through your space, your timeline, and what it would take to build it right the first time.
Book a Project Discovery Call