Why Pavers Fail in Idaho (And How to Make Sure Yours Don’t)
Pavers don’t fail because pavers are bad. They fail because of what’s beneath them, what’s around them, and what was skipped during installation. In Idaho, the margin for error is smaller than most contractors admit.
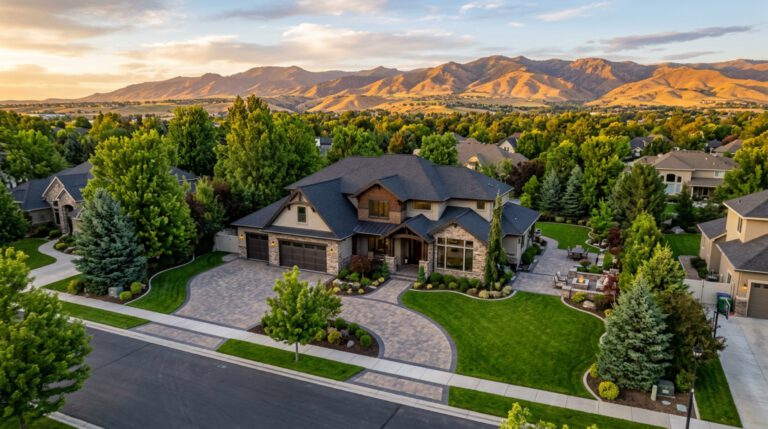
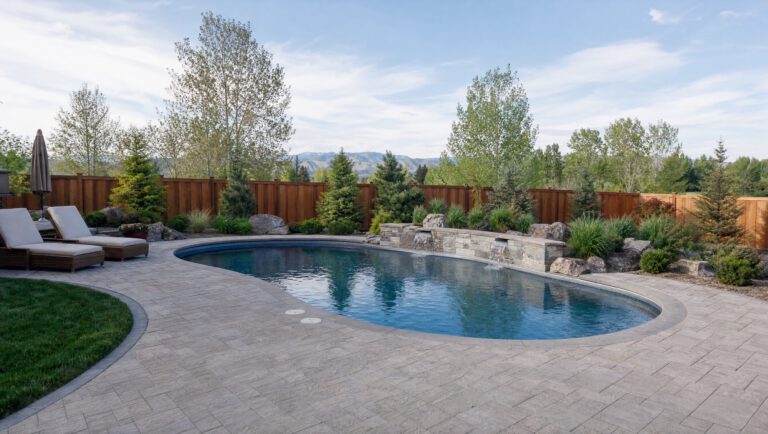
The Treasure Valley is one of the best markets in the country for outdoor living. Long summers, dramatic landscapes, and a homeowner base that genuinely uses their outdoor spaces make it an ideal place to invest in quality hardscape. But Idaho’s climate is also one of the most demanding environments for paver installations in the western United States — and the failure rate among installations built to inadequate specifications proves it.
If you drive through established neighborhoods in Boise, Eagle, Meridian, or Star, you’ll see it: patios with shifted pavers and visible gaps, driveways with settled sections and cracked edges, walkways that have heaved and become trip hazards. These aren’t old installations at the end of their lifespan. Many of them are three to seven years old — projects that looked beautiful on completion day and started coming apart within a few seasons.
The causes are consistent, predictable, and entirely preventable. Every paver failure we see traces back to one or more of the same root issues. Understanding them is the best way to make sure your investment doesn’t follow the same path.
Failure Mode 1: Freeze-Thaw Cycling
This is Idaho’s signature hardscape challenge, and it’s the one that separates installations built for this climate from installations built to generic national standards.
The Treasure Valley experiences 100 to 130 freeze-thaw cycles per year. That means 100 to 130 days where the temperature crosses 32 degrees Fahrenheit in both directions — freezing at night, thawing during the day. Each cycle allows water that has penetrated the paver surface, the joint system, or the base layer to expand as it freezes and contract as it thaws.
The cumulative effect is devastating. Joints open. Pavers shift laterally. Base material migrates. Edge restraints separate. The installation that was flat and tight in September develops visible movement by the following April — and each subsequent winter makes it worse.
The defense against freeze-thaw is threefold. First, the pavers themselves must have a low water absorption rate — below 5% by ASTM C936 standards, and ideally below 3% for high-exposure applications like pool decks and driveways. Second, the joint sand must fully seal the joints against water infiltration. Third — and most critically — the base and drainage system must prevent water from accumulating beneath the pavers where freeze-thaw expansion does the most structural damage.
Contractors who build in Sun Belt states don’t think about this. Contractors who learned the trade in those markets and moved to Idaho often underestimate it. It’s the first question to ask about any paver project in the Treasure Valley: how is this installation designed to handle 100-plus freeze-thaw cycles every year?
Failure Mode 2: Expansive Clay Soils
Beneath much of the Treasure Valley lies clay-heavy soil with significant expansion and contraction characteristics. This soil swells when it absorbs moisture and shrinks when it dries — and it does both with enough force to move thousands of pounds of hardscape material.
The standard base specification you’ll find in a national paver installation guide — 4 to 6 inches of compacted aggregate — is often insufficient for Treasure Valley clay. We routinely specify 8 to 10 inches of compacted base for patios and 10 to 12 inches for driveways, installed in 3-inch lifts with mechanical compaction between each lift. On sites with particularly aggressive soil conditions, we add geotextile fabric between the native soil and the aggregate base to prevent clay migration into the base layer over time.
The symptoms of base failure on clay soil are distinctive: broad, gradual settling rather than localized sinking, pavers that develop a gentle wave pattern across the surface, and edge sections that pull away from adjacent structures. By the time these symptoms are visible on the surface, the base beneath has already compromised — and the only real fix is to pull the pavers, remove the inadequate base, and start over.
The cost difference between a 6-inch base and a 10-inch base on a 1,000-square-foot patio is roughly $2,000 to $3,500 in additional material and labor. The cost of pulling and rebuilding that same patio three years later is $15,000 to $25,000. This is the arithmetic that separates contractors who understand Idaho conditions from those who don’t.
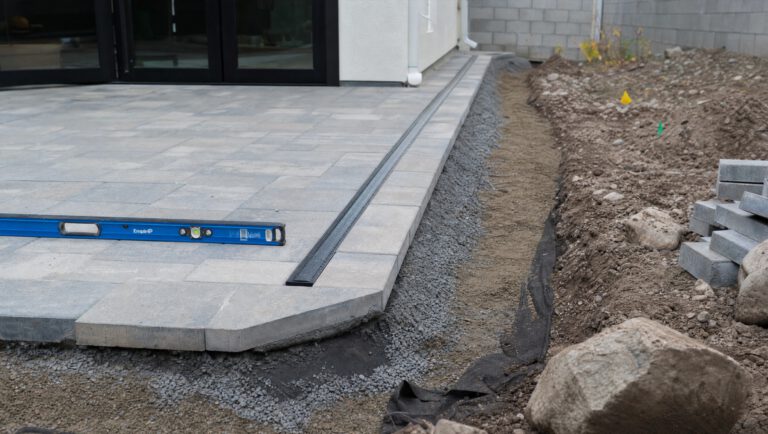
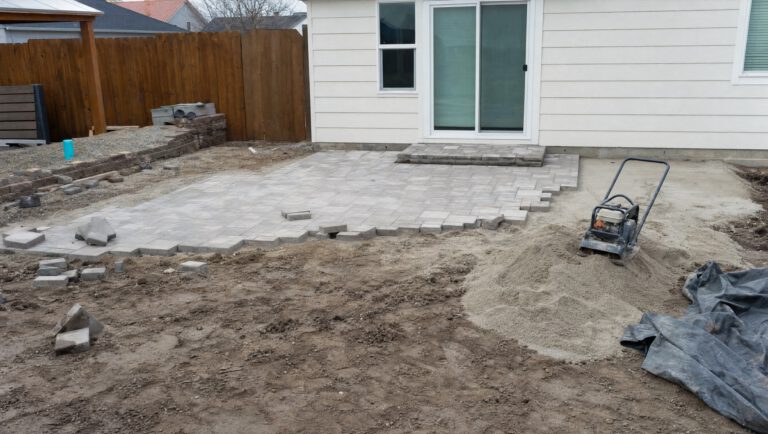
Failure Mode 3: Improper Base Preparation
Even when the base depth is adequate, the way that base is prepared determines everything. This is the most common area of shortcutting in the hardscape trade because it’s the most invisible. Once the pavers are laid, no one can see whether the base beneath them was installed correctly — until it fails.
The critical steps are excavation to proper depth, installation of compacted aggregate in lifts (not all at once), and achieving the target compaction density — typically 95% or higher as measured by a plate compactor with proper overlap. Each lift should be no more than 3 to 4 inches of loose material, compacted to roughly 2 to 3 inches, with the next lift added on top.
The shortcut version — dumping the full depth of aggregate, running a compactor over the top once or twice, and moving on — produces a base that feels solid on installation day. The top 2 to 3 inches are compacted; the material beneath is loose. Under load and through freeze-thaw cycling, that loose material settles, shifts, and creates voids. The pavers above follow.
A related issue is inadequate excavation. Contractors who want to save time and disposal costs will sometimes excavate to a shallower depth than specified, reduce the base thickness to compensate, and rely on the native soil to provide structural support it can’t deliver — particularly in clay-heavy Treasure Valley sites.
The only way to verify base preparation is to be present during installation or to work with a contractor whose reputation and track record give you confidence that the invisible work is being done correctly. This is why references from past clients — particularly clients whose installations are three or more years old — are the most valuable due diligence you can do.
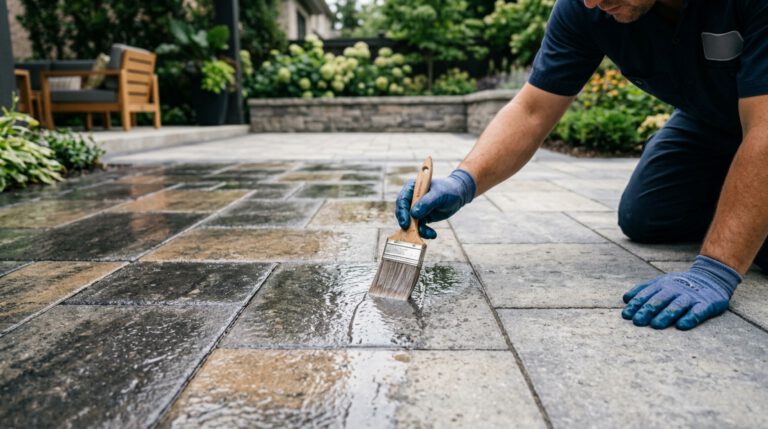
Failure Mode 4: Cheap or Improperly Applied Polymeric Sand
Polymeric sand is the joint filler that locks pavers together and prevents water, insects, and organic material from penetrating the joints. When it’s the right product, properly applied, it’s a critical component of a durable installation. When it’s a cheap product or applied incorrectly, it becomes a primary failure point.
Quality polymeric sand — products from manufacturers like Techniseal, Alliance Gator, and SRW — contains binding agents that activate with water and cure to form a flexible, water-resistant joint. Cheap alternatives use lower concentrations of binders, cure harder and more brittle, crack during freeze-thaw cycling, and wash out — leaving joints open to water infiltration, weed growth, and insect activity.
Application matters as much as product selection. Polymeric sand must be swept into completely dry joints, compacted, and then activated with a specific watering procedure that varies by product. Excess sand must be removed from the paver surface before activation, or it will cure as a haze that’s difficult or impossible to remove without damaging the pavers. Applying polymeric sand to damp pavers, in rain, or without proper surface cleaning beforehand are all common mistakes that produce poor results.
The cost difference between premium polymeric sand and a budget product on a 1,000-square-foot patio is approximately $150 to $300. The cost of re-sanding joints that have failed — which requires pressure washing, drying, and full reapplication — is $1,500 to $3,000. On a percentage basis, this is the highest-leverage material decision in the entire installation.
Failure Mode 5: Inadequate Drainage Design
Water is the common thread in every failure mode listed above. Freeze-thaw damage requires water. Clay expansion requires water. Base failure is accelerated by water. Joint erosion is caused by water. Drainage is not a separate topic from paver durability — it is the topic.
Effective drainage for a Treasure Valley paver installation involves three layers. Surface drainage — achieved through proper slope, typically 1/4 inch per foot minimum — moves water off the paver surface and away from structures. Subsurface drainage — perforated pipe in a gravel bed beneath the base — manages water that penetrates through or around the installation. And site drainage — grading, swales, and downspout management — ensures that water from the broader property isn’t directed toward or through the paver installation.
The installations that fail in Idaho almost universally have inadequate drainage at one or more of these levels. The patio that settles was built without subsurface drainage on clay soil. The driveway that heaves was built at the base of a slope that directs snowmelt directly into the base layer. The walkway that shifts was built without adequate surface slope, allowing standing water to penetrate the joints and freeze.
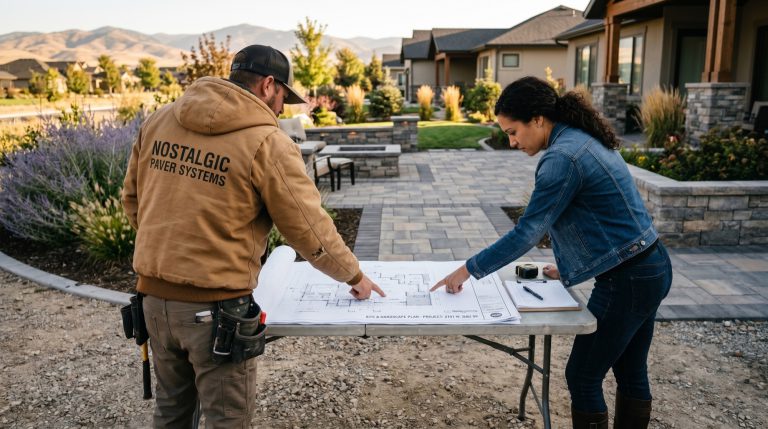
A comprehensive drainage assessment should be part of every hardscape proposal in the Treasure Valley. If your contractor’s proposal doesn’t address drainage — or addresses it with a single line item rather than a detailed plan — that absence tells you something important about how they’re thinking about the long-term performance of your project.
Ready to Get It Done Right?
Every failure mode described here is preventable. The difference between a paver installation that lasts 25 years and one that starts failing in 3 isn’t luck — it’s specification, material selection, and execution by a crew that understands what Idaho’s climate demands.
At Nostalgic Paver Systems, we’ve been building hardscape in the Treasure Valley for over 20 years. We’ve seen every failure mode on this list — in projects we’ve been called to repair — and we’ve built our process specifically to prevent them. If you’re planning a paver project and want to understand what it takes to build it right for Idaho, we’d like to have that conversation.
Book a Project Discovery Call today.
Frequently Asked Questions
How many freeze-thaw cycles does Boise get per year?
The Treasure Valley typically experiences 100 to 130 freeze-thaw cycles annually — days where the temperature crosses the 32-degree threshold in both directions. This is significantly more than most homeowners realize and places greater demands on hardscape installations than climate zones that are either consistently cold or consistently warm. Paver selection, joint sand quality, and drainage design all need to account for this cycling.
How deep should a paver base be in Idaho?
For most Treasure Valley residential applications, we specify a minimum of 8 inches of compacted crushed aggregate for patios and walkways, and 10 to 12 inches for driveways. These depths exceed generic national guidelines and reflect the specific demands of Idaho’s clay soils and freeze-thaw cycling. The base should be installed in 3-inch lifts with mechanical compaction between each lift.
Why are my pavers shifting after just a few years?
Paver shifting within the first three to five years almost always indicates a base or drainage issue — not a problem with the pavers themselves. The most common causes are insufficient base depth for Idaho’s clay soils, inadequate compaction during base installation, poor drainage allowing water to accumulate beneath the installation, or failed polymeric sand allowing water infiltration through the joints. A professional evaluation can identify the specific cause and determine whether repair or reconstruction is needed.
Can failed pavers be repaired, or do they need to be replaced?
It depends on the root cause. If the issue is localized settling or joint failure with an otherwise sound base, individual sections can often be lifted, the base corrected, and the pavers relaid. If the failure is systemic — widespread settling, base migration, or drainage failure affecting the entire installation — the most cost-effective long-term solution is typically a full reconstruction with proper base depth and drainage. Patching systemic problems produces temporary results that fail again.
What type of polymeric sand should be used in Idaho?
Premium polymeric sand from manufacturers like Techniseal, Alliance Gator, or SRW is essential for Idaho installations. These products contain higher concentrations of binding agents that maintain flexibility through freeze-thaw cycling rather than cracking and washing out. Budget polymeric sand products cure harder, become brittle in cold temperatures, and fail significantly faster — leaving joints open to the water infiltration that drives most other failure modes.
How do I know if my contractor is building the base correctly?
Ask specifically: how deep will the base be, what material will you use, and will you compact it in lifts? A contractor who specifies 8 or more inches of compacted crushed aggregate installed in 3-inch lifts with mechanical compaction is building to Idaho standards. A contractor who gives a vague answer or specifies less than 6 inches of base is building to a standard that won’t hold up. You can also request to be present during base installation to observe the process — a confident contractor will welcome this.
Nostalgic Paver Systems · Boise, Idaho · Serving the Greater Treasure Valley · nostalgicpavers.com
Nostalgic Paver Systems
Planning a project of your own?
Let’s talk through your space, your timeline, and what it would take to build it right the first time.
Book a Project Discovery Call